
4 Steps To Applying Epoxy Flooring
Many homeowners have turned to epoxy flooring to protect their garage floors. Old concrete is dull and lifeless. Additionally, it can quickly become damaged by chemicals and water. Epoxy maintains its shine for years and can be applied to any garage floor in four steps.
1. Choose the Coating
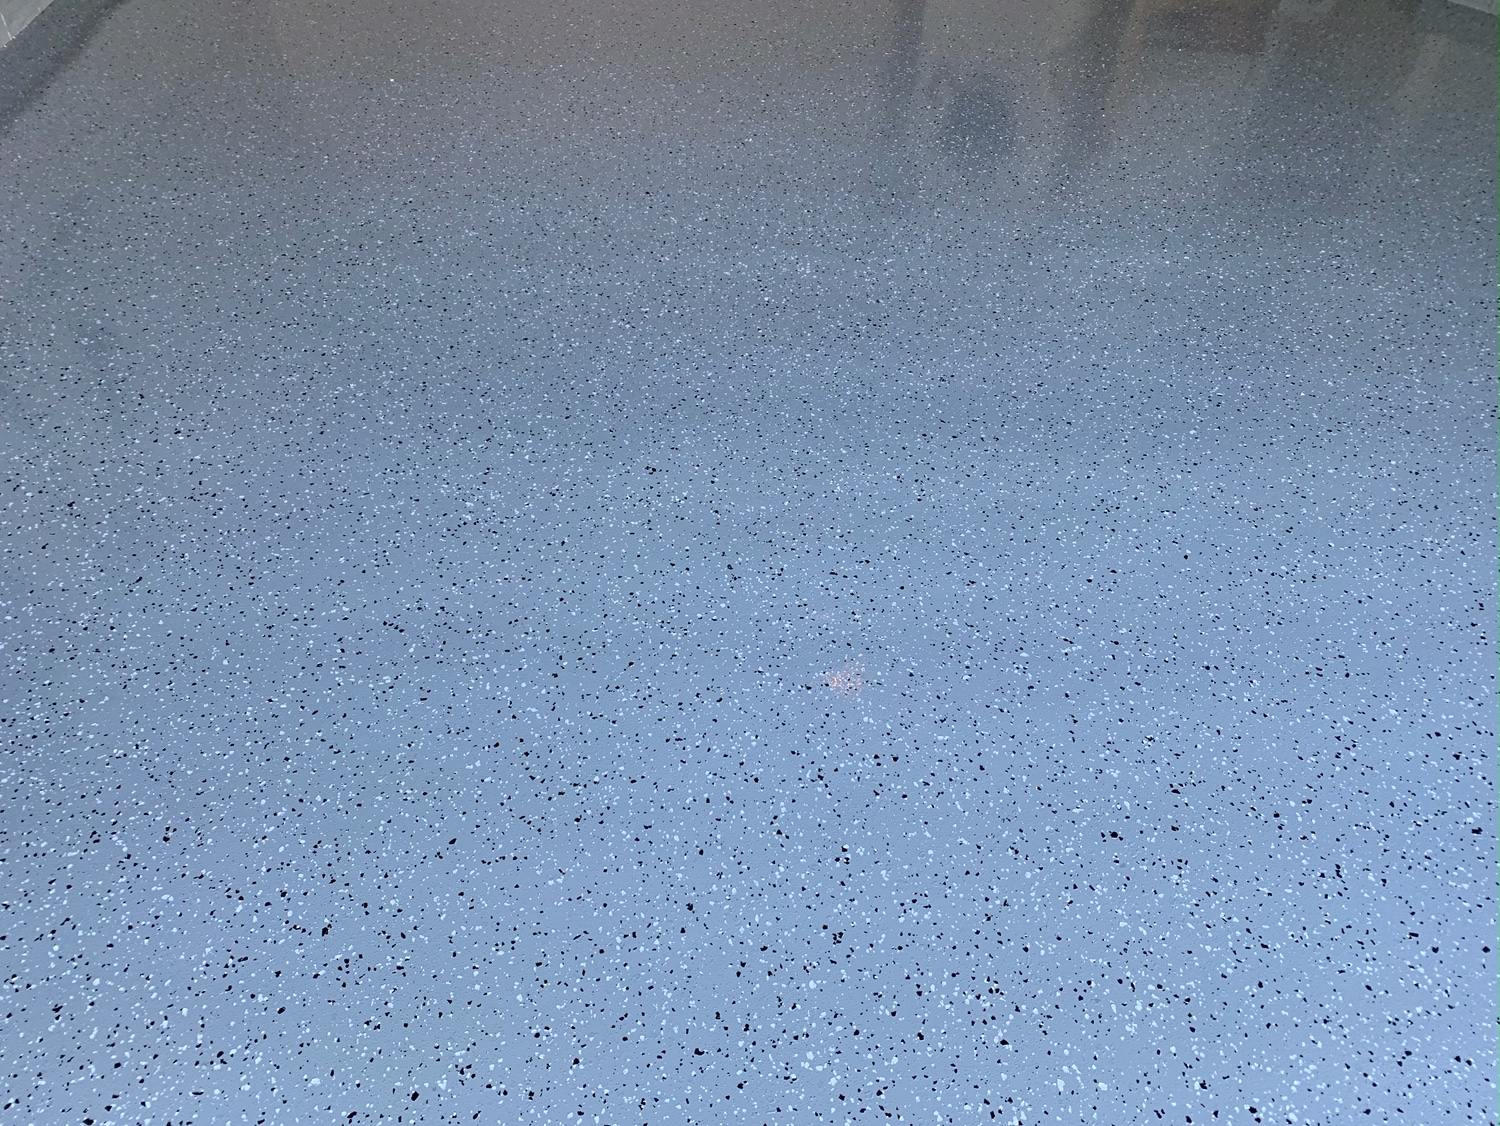
The coating choice depends on the results you want. For example, some coatings are 100% solid, water-based or solvent-based. In most cases, water-based coatings are a primer and not necessarily suitable for garage floors. The 100% solid is the most durable for high-traffic areas and may last for 20 years.
2. Prep the Flooring
Before contractors apply epoxy, they examine the floor for any issues. For example, if you have a moisture problem in your garage, it needs to be addressed before applying the epoxy. To prep the floor, contractors use acid washing or shot blasting to roughen the floor. In addition, contractors will fill any cracks or holes in your garage floor.
3. Choose the Tools
Contractors tend to choose between rollers or brushes to apply the coating. In general, moist use a roller to apply the first coat. After the first coat, the floor cures overnight and in the morning, the second coat can be applied. Garage floors should have at least two coats.
4. Determine if You Need a Protective Coat
Some people do a lot of work in their garage. If you perform many car repairs or if your family is particularly hard on the garage floor, you may want to consider a urethane coat to top it. The coat adds additional strength and resists abrasions.
If you have a garage floor that you want to protect, you may want to consider epoxy flooring. One of the main benefits of epoxy is that it is clean, attractive and can last for many years, despite being exposed to chemicals, water and other substances found in the garage.